Bin-Side Manner: How to Read a Used Cassette Before It Reaches the Checkout
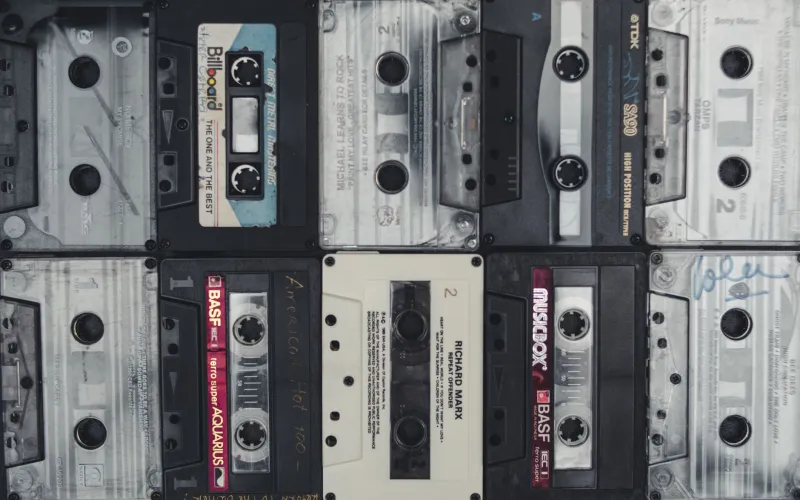
At a Goodwill Outlet, the tapes usually arrive in a plastic bin that smells faintly of somebody’s garage. At an estate sale, they are stacked next to a clock radio and a box of holiday napkins. At the flea market, they are sun-faded and priced with a Sharpie. Either way, you have about ninety seconds before the next person reaches into the same bin. This is not restoration. It is triage.
The Clock Starts Before You Open the Case
A used cassette is a small mechanical system wrapped in a small plastic story. You are checking for three things: whether it will play, whether it will damage a deck, and whether the J-card tells you something the internet cannot. Most of that information is visible before you ever press Play. A phone flashlight helps. A listening deck helps more, but most stores do not have one, and you should not count on asking the cashier to test a two-dollar tape.
Start with the case in your hand and tilt it under the light. Do not shake it. Do not squeeze it like a stress ball. You are reading, not wrestling.
First Ten Seconds: Case and J-Card Clues
The J-card is the paper insert behind the plastic. Look for water stains, wavy paper, rust-colored staple marks, or a spine label that has gone soft and fuzzy. A cracked hinge is annoying but not disqualifying. A J-card fused to the case is a different matter: that usually means moisture, and moisture is a warning.
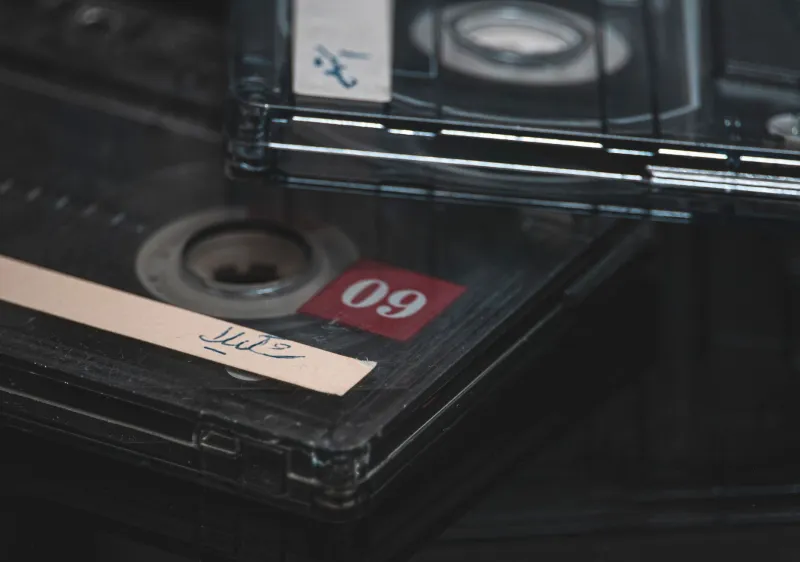
Read the spine. If the handwriting is legible, note the title, artist, and any date. A handwritten tracklist can be a clue that the tape was dubbed from a record or the radio rather than bought at a store. That is not automatically good or bad, but it changes what you are buying. A store-bought tape with a clean J-card and a matching shell label is easier to grade. A homemade tape with a crossed-out song and a coffee ring is a different kind of object, and you should price it accordingly.
Seconds 10–30: Shell Condition
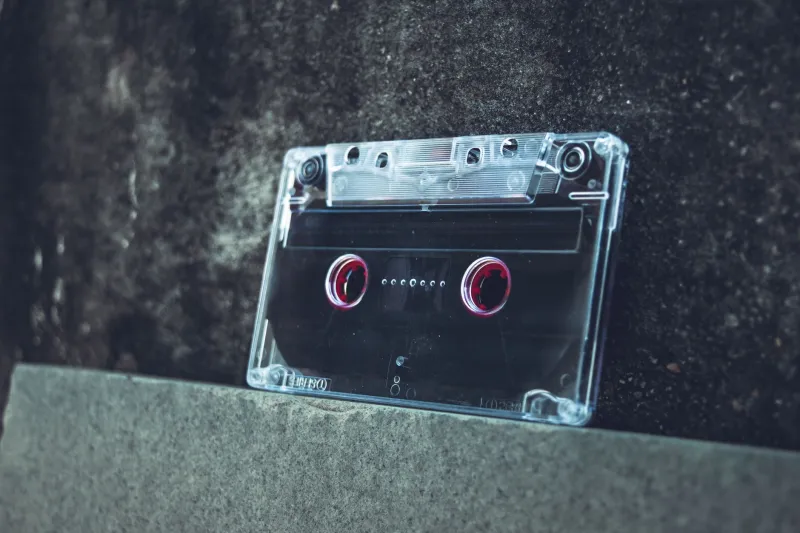
Open the case. Give the tape a polite sniff. Musty basement is common; active mold is not. Look at the shell itself: cracks, yellowing, label peeling, missing screws. A hairline crack near a screw can be fine. A crack that crosses the tape path is a hard pass. Check the seams where the two halves meet. If the shell looks heat-warped or feels soft, put it back. Cassettes live in cars and attics, and both environments are good at turning plastic into a potato chip.
Do not open the shell in the store. Do not pry at the seam with a key. You are not going to fix a pressure pad in aisle four, and you are definitely not going to win an argument with a cashier about whether you broke it.
Seconds 30–50: The Pressure Pad
Find the pressure pad. It is the small felt or foam rectangle under the tape window, usually opposite the opening where the deck’s playback head makes contact. It should be centered, springy, and attached. If it is missing, flattened into a shiny smear, or crumbling into black dust, the tape will likely wobble, drop out, or curl at the edges. A pressure pad can be replaced at home, but it is a project, not a plug-and-play purchase.
If the pad leaves a sticky residue on the shell, walk away. That is not a bargain; that is a future cleaning session for your deck.
Seconds 50–70: The Tape Pack
Angle the cassette toward the light and look through the window. The tape pack should be tight, even, and flat across the reels. You do not want gaps between the wound layers, stepped edges, or a lopsided pile that looks like a tiny mountain range. That uneven winding is sometimes called spoking, and it can mean the tape was stored badly or stopped mid-wind.
A slightly loose pack is not always fatal. A good deck can often fast-forward or rewind it back into shape. But visible creases, rippled edges, or a pack that looks like it has been chewed are trouble. Do not stick a pencil in the hub and crank it in the store. You will look strange, and you may make it worse.
Seconds 70–90: Screws, Seams, and the Final Call
Check the screws. Are they all there? Is the shell seam tight? Does the label look like it was applied yesterday to a tape from 1987? None of these are dealbreakers on their own, but together they tell you how the tape lived.
Then check the price against the risk. A common pop tape with a cracked case and a clean pack is a dollar-bin buy. A sealed copy of something you actually want is a different calculation. A tape with a missing pressure pad is a parts tape unless it is rare enough to justify surgery. I use three grades in my head: A plays now, B is a project, C is for parts. Most bins are full of Bs and Cs. That is fine. The fun is finding the A.
The One Red Flag That Stays on the Shelf
Visible mold. Fuzzy white or green patches on the tape, the J-card, or inside the case. Paper that is stuck together with damp. A smell that makes you pull your head back. Leave it. Mold spreads to other tapes and to your deck, and “I’ll clean it later” is how a cheap tape becomes an expensive lesson. There is no shortage of moldy cassettes in the world. Let this one be somebody else’s problem.
The Ninety-Second Scorecard
- Case: cracked hinge is fine; water damage is not.
- J-card: legible spine and dry paper are good signs.
- Shell: no cracks across the tape path, no heat warp.
- Pressure pad: present, springy, not crumbling.
- Tape pack: tight and even, no creases or stepped edges.
- Red flag: mold or active moisture means put it back.
The whole routine takes less time than scrolling past a bad playlist. And unlike a playlist, the tape in your hand has a history you can actually hold. Grade it fast, buy it cheap, and save the deep cleaning for the kitchen table.